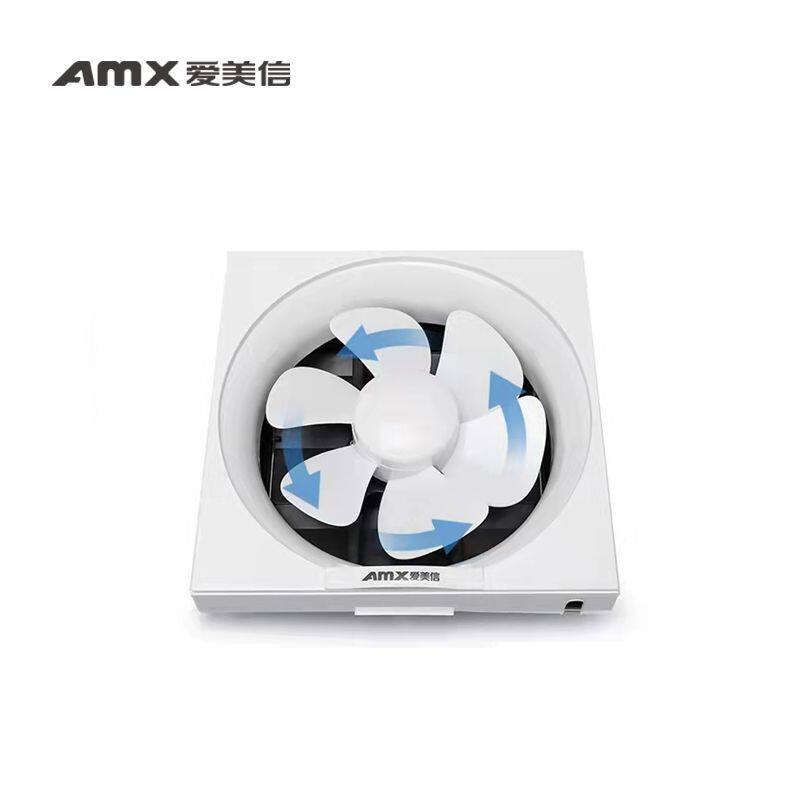
If you're dealing with a bathroom ventilation fan that is loud, outdated, or simply not functioning properly, you may need to replace it. Installing a new bathroom fan can seem daunting, but you can get it done quickly and easily with the right tools and knowledge. In this article, we'll take you through the step-by-step process of how to replace bathroom ventilation fan.
A bathroom fan is important in any bathroom as it helps remove excess moisture and odors. Over time, your bathroom fan may become worn out, noisy, or simply not function properly. In this case, it's important to replace it. Not only will a new fan improve the air quality in your bathroom, but it can also reduce the risk of mold and mildew growth. In this guide, we'll show you how to replace bathroom ventilation fan step-by-step.
Safety Precautions
Before starting the process of replacing your bathroom fan, it's important to take some safety precautions. First, turn off the power supply to the fan by turning off the circuit breaker or removing the fuse. Also, make sure to wear appropriate protective gear, such as gloves and safety glasses, to protect your eyes and hands from any debris that may be present during the installation process.
Tools and Materials Needed
To replace your bathroom fan, you'll need the following tools and materials:
- A new bathroom fan
- Screwdriver
- Hammer
- Measuring tape
- Wire stripper
- Pliers
- Circuit tester
- Caulk
- Screws
- Drywall saw
Removing the Old Fan
To begin the process of replacing your bathroom fan, you'll need to remove the old fan. First, remove the cover of the fan by unscrewing any screws holding it in place. Next, use a circuit tester to ensure that the power supply is turned off. Once you've confirmed this, disconnect the wiring from the old fan. Finally, unscrew the old fan from the ceiling or wall and remove it from the bathroom.
Preparing for the New Fan
Before installing the new fan, you'll need to prepare the installation site. Start by measuring the size of the opening in the ceiling or wall where the old fan was located. Make sure to purchase a new fan that fits the same size. Next, use a drywall saw to cut out any excess drywall that may be in the way. Once you've created a clean opening, remove any debris from the area.
Installing the New Fan
Now it's time to install the new bathroom fan. Start by connecting the wiring to the new fan, following the manufacturer's instructions. Next, attach the new fan to the ceiling or wall using screws and a screwdriver. Double-check that the fan is securely attached to the ceiling or wall.
Wiring the New Fan
After the new fan is securely installed, it's time to wire it. Start by connecting the ground wire to the green screw on the fan. Next, connect the neutral wire to the white wire on the fan and the hot wire to the black wire on the fan. Use wire connectors to secure the connections and ensure the wires are properly insulated.
Testing and Finishing Touches
After you've finished wiring the new fan, it's time to test it. Turn the circuit breaker back on or replace the fuse to supply power to the fan. Please turn on the fan and make sure it's functioning properly. If you notice any issues, such as a strange noise or a lack of airflow, turn off the power supply and double-check the wiring connections.
Once you're satisfied that the new fan is working properly, it's time to add the finishing touches. Apply a bead of caulk around the perimeter of the fan to ensure a tight seal. This will help prevent any moisture or air leakage around the edges of the fan. Finally, attach the cover to the new fan using screws and a screwdriver.
Frequently Asked Questions
How often should I replace my bathroom fan?
It's recommended to replace your bathroom fan every 10-15 years or sooner if it's showing signs of wear and tear.
Can I replace a bathroom fan myself?
Yes, with the right tools and knowledge, replacing a bathroom fan can be a DIY project.
What size bathroom fan do I need?
The size of the bathroom fan you need will depend on the size of your bathroom. A general rule of thumb is to choose a fan with a CFM (cubic feet per minute) rating that is equal to or greater than the square footage of your bathroom.
Can I install a bathroom fan in the shower?
Yes, you can install a bathroom fan in a shower. However, you'll need to choose a fan that is specifically designed for use in high-moisture areas.
How long does it take to replace a bathroom fan?
The time it takes to replace a bathroom fan will depend on your level of experience and the complexity of the installation. It can take anywhere from a few hours to a full day.
Conclusion
Replacing a bathroom ventilation fan may seem like a daunting task, but with the right tools and knowledge, it can be a DIY project. Following the steps outlined in this guide, you can quickly and easily replace your bathroom fan. Just remember to take the necessary safety precautions, choose the right tools and materials, and double-check your work at every step of the process.


